Upgrading my Homemade CNC
700K views · Mar 25, 2022 · People & Blogs

Comments · 328
@DoRC · 2 years ago
There is nothing more satisfying than watching a video from a few years ago on a channel you've never seen and then seeing there's a follow-up video available!
206
@tommontgomery2674 · 4 years ago
1. Most CNC machines in the shop will use a filter on the air intake of the electronics to keep dirt and chips out. That should be an easy mod. 2. Use an air blower or preferably an air mister with coolant to blow away the chips to get a better finish. 3. Try to have the end mill stick out of the collet as short as possible to keep the tool from flexing... Awesome project!
465
@tooFarGonexk4he4tu3s · 2 years ago
Now you can potentially use your upgraded CNC mill to make parts for upgrading your CNC mill
39
@ArcAiN6 · 4 years ago
If you aren't happy with the side wall surface finishes, you should create a roughing tool path leaving a few thou of excess stock on the walls, and a secondary "finishing" tool-path to clean them up.. you'll want to reduce the travel speed, full depth of cut minus about a thousandths so you don't mar up the floor finish (only applicable to parts with a floor to finish), and skim the edges to remove the excess stock you left in the first operation, as well as cleaning up, and leaving a uniform wall surface finish. <br><br>It's common in CNC machining to create multiple operations like this. roughing passes care little about surface finish, it's all about removing material as fast as possible, and a secondary clean-up pass to remove the last bit of stock and leave an acceptable surface finish. <br><br>Hope this was helpful :)
105
@mkfourgli9785 · 5 days ago
Just the channel and content I love. Great videos. Straight to the point with no life stories. I'm reaching out to you
@SecondClassCitizen · 4 years ago
This is a godsend. I recently tore down a couple 3d printers I don't use anymore and wanted to convert them into a CNC machine exactly like this. I was just to lazy to design anything and am still a beginner with cad software. This is awesome.
38
@inertproductionsalternate9114 · 3 years ago
On the backlash. Their are backlash nuts that are designed to use a spring to push them apart and they are pretty cheap. The benefit is that since your causing more friction the nut will wear out faster and the spring ensures it stays in good contact despite wear.
11
@PiefacePete46 · 4 years ago
I was right... I WAS RIGHT!!! The moment I saw you demonstrating the lack of rigidity in your previous video, I knew we were in for a treat when you addressed the problem.<br>This is GREAT! You now have a tool that I am sure we will see get more refinement and tuning in the future... you have opened up a "Pandora's box" of possibilities, I will wait with bated breath.<br>Many thanks, Liked and Subscribed.
16
@Sn3kii · 1 year ago
What I like about ur CNC mill is that it isn't so damn expensive to build like the other designs and you can learn way more than on the other ones when you upgrade it over time
3
@68HC060 · 4 years ago
Really a good build-series. Even though you've used a few Chinese parts, your build is already much better than a chinese CNC.<br><br>There are a few things I noticed ...<br>1: Please don't use double sided tape for attaching the heatsinks; double-sided tape (especially foam-tape) insulates against heat and thus keep the heat inside the part you wish to cool down. Instead you can use DOW Corning 340 if you can mount the heatsink using bolts (DOW Corning 340 is not adhesive). Stepper motors do not need to be cooled; most people make the mistake that they think they should not get hot. Normal working temperature for a stepper motor is 60°C (which is: not boiling, but you do not want to touch the motor). If you can't mount the heatsinks using bolts, there are still a few adhesive heatsink compounds available (I know Arctic make some, but they're hard to get as they're epoxy based and are usually sold to companies in larger quantities). Epoxy-based heatsink compounds <b>can</b> be mixed with non-adhesive variants, to make it possible to remove the heatsink if necessary; you'll have to experiment with the mixing ratio, though.<br>2: You could use double-sided tape for the parts you're milling. Stick the aluminum block onto the build-plate with double-sided tape, then keep the holding tabs (at <a href="https://www.youtube.com/watch?v=SwzpX-jgbYM&t=680">11:20</a>) and let the CNC remove those gently as the last step - then you hav a part which is ready to use when the CNC is done.<br>3: A4988 is a good stepper driver to test with; but try upgrading to TMC2209, they should make smoother movements, which will minimize the chatter and thus resulting in a smoother surface on the part. BiQu's TMC2209 v1.2 is currently the best driver (don't get fooled by other manufacturer's v2.0 or v2.2 or 3.x). IMPORTANT: Remember to disconnect all motors, then adjust vREF so it matches your motors and finally connect the motors. If you start by connecting the motors, you'll likely fry the TMC2209's MOSFET (like I did, because I forgot).<br>4: Arduino is also a good and easy start, however, upgrading to a ARM Cortex-M4 board (recommend STM32F4-based), then you will get floating point calculations and 32-bit calculations at a much higher speed, which in the end means you'll be able to get the ability to calculate curves (bezierpaths) - again, this improves the quality of the workpiece.<br>5: When I saw your first build, I was thinking that you could probably create your own spindle from good quality ball-bearings and a 10mm shaft; then power that spindle by the motor. Note: Roller-skate bearings are cheap and fairly good quality (I think they're actually 8mm, so you'd probably have to use an 8mm shaft).<br>6: The 2020 aluminum profiles used for the frame have a circular center, where you can tap a thread; then drill a hole in the connecting piece for a bolt and tighten this to get better rigidity; keep the plastic, so you'll get as much rigidity as possible.<br><br>About heatsink compound (10 years ago, I worked with this for living) - apply one drop-size heatsink compound per square-inch. Spread it evenly over the surface using a razor blade. It should be a layer thinner than a piece of paper. The job of the heatsink compound is to remove airgaps between the two surfaces and otherwise be "invisible". It should not insulate. Tighten the bolts holding the heatsink as much as possible (without breaking the threads of course).<br><br>I know you'll probably not implement all my suggestions, but if you (or someone else) can use just one of them, then it's been worth writing it. =)
60
@Fine_i_set_the_handle · 3 years ago (edited)
<a href="https://www.youtube.com/watch?v=SwzpX-jgbYM&t=480">8:00</a> they sell 5 foot long (1500mm) version of these with the pillow blocks, leadscrew, screw nut, 2 linear rails, 4 linear blocks, and a stepper coupler for 150$ on amazon
5
@gordonbelfort7176 · 1 year ago
This Mini-mini-series is exactly what i looked for since i found my old parts of my first reprapkit from 2012. Great. Thx a lot 👍🙏
2
Up next
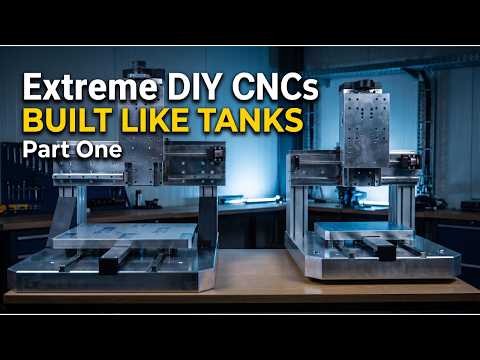
Extremely sturdy DIY CNC with small form factor, suitable for milling steel
scratchbuilt designs · 96K views

I Needed an Engine, So I Built a CNC Machine
Tom Stanton · 1.2M views

Upgrading The $200 CNC Machine
Artisan Makes · 201K views

Genmitsu 3018 CNC upgrades: Mill acrylic, aluminium and carbon fiber
Teaching Tech · 316K views

DIY 3D Printed CNC Cuts Metal with 0.05mm Accuracy - Complete Build
How To Mechatronics · 414K views
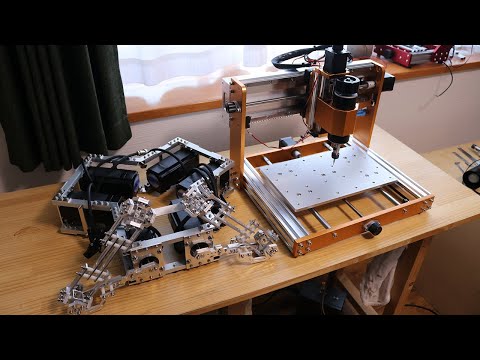
Work on New Machine And CNC Upgrade to Lunyee 3018 Pro Ultra
Electron Dust · 54K views

DIY High Speed 3D Printer (CoreXY From Scratch)
TechBuilder · 972K views

Making a DIY CNC machine with limited tools
Ben Makes Everything · 2.1M views

Lunyee 3020 Nova in-depth review: A GREAT budget CNC machine with a STUPID design flaw! (I fixed it)
Chronic Mechatronic · 23K views

This CNC machined itself - 3D printed to All-Aluminum Upgrade
How To Mechatronics · 67K views
My First Complex CNC Part - Explained - Makera Z1
RB E-Motion · 10K views

DIY Hobby Mill 5 Axis CNC Conversion | Part 1: The Stand
Mach Super · 22K views
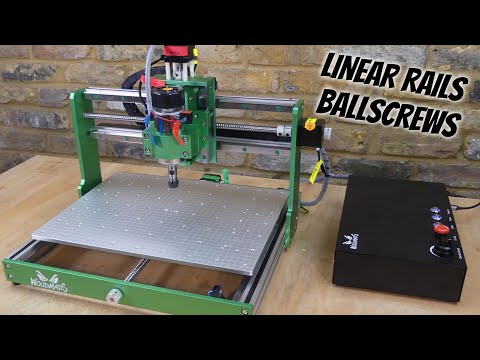
Foxalien wm3020 Cnc with Linear Rails & Ballscrews
techydiy · 108K views

My Dream Power Hammer Restoration! Part 10
Alec Steele · 661K views

800W Spindle On A 3018 CNC
Matt · 38K views

I Engineered and Built a CNC Machine From Scratch
Teys Cocset · 72K views

CNC Mill for under $100
Hyperspace Pirate · 3.1M views
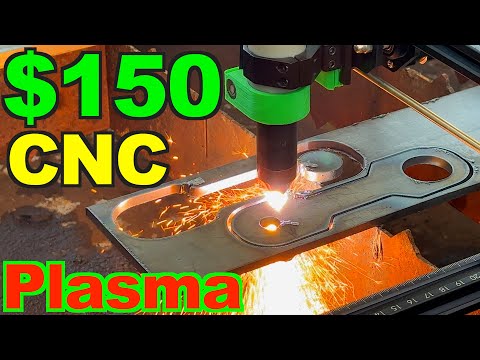
✅$150 CNC Plasma Table Build for Your Garage Easy Quick and Very Cost Effective
Fix206 · 1.5M views

Building precision machines is simple, until it isn't.
Not An Engineer · 1.3M views

TINY 3D PRINTED CNC CUTS METAL (from scratch)
Ivan Miranda · 677K views

Full-Size CNC for €500?! 🔧 Step-by-Step Guide to Build Your Own!
Mindsparx · 694K views

Why Was This 1896 Tool Forgotten?
Pask Makes · 1.4M views
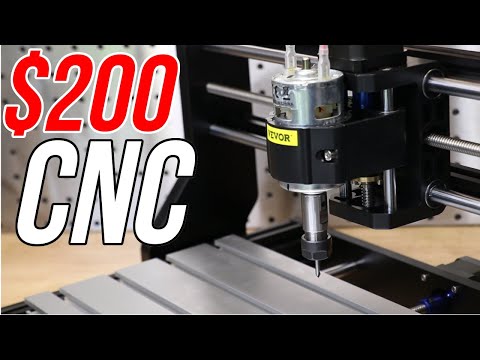
A CNC Mill For Less Than $200 - Is It Worth Buying? (CNC 3018 Pro)
Artisan Makes · 2.5M views
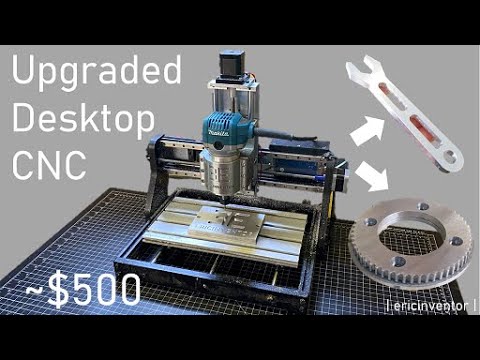
Upgraded Desktop CNC 3018 cuts Aluminum FAST!
ericinventor · 890K views

DIY CNC Router Part 1 // Building a Small CNC Router
Gökmen ALTUNTAŞ · 1.9M views

Cnc 3018 Upgrade with a 500 W Spindle Motor
techydiy · 559K views