Six Common Mistakes Made When Recapping Vintage Electronics
748K views · Nov 29, 2020 · Science & Technology

Comments · 1.1K
@Graham_Wideman · 4 years ago
And the number 1 mistake... failing to pull out your cell phone and take a few pictures before you start pulling out capacitors.
839
@wtmayhew · 2 years ago (edited)
I recently replaced the electrolytic capacitors in a GE digital tuned clock radio from the late 1970s or early ‘80s which was too nice to throw out. Being on for 40 years 24x7 took its toll. The symptoms were erratic operation such as the alarm beep going off at random times and poor audio quality. As I pulled the capacitors, I checked them with an M Cubed Electonix impedance bridge and found about 1/4 of the capacitors had only about 1/3 their rated capacitance. Quite a few capacitors had also developed unreasonably high effective series resistance, as much as 30+ Ohms.<br><br>After my order for capacitors of the same proper values and withstand voltages arrived from Digikey, it took a few hours to swap all the electrolytic capacitors. Since there were so many off value parts, I decided to replace all of the aluminum electrolytic capacitors so that I would not have to go back to replace more parts later. After a few hours of patient work, everything was good to go and the radio sounds great again. If you follow the advice in this video you’ll almost certainly have a good outcome with more life from your old equipment.
90
@HowToHomeLife · 1 year ago (edited)
I'm 73 now and have been repairing and restoring electronics for more than sixty years, everything in this video is good advice when re-capping electrolytic capacitors. I have one more important suggestion, purchase an in-circuit ESR (Equivalent Series Resistance) tester, this piece of test equipment analyses the single most important characteristic of electrolytic capacitors, it measures the internal impedance of the capacitor. The model ESR tester I found to be the best is called the "Capacitor Wizard" made by Independence Electronics and costs about $200.00, it has an analog meter and a audible beeper, both of which is very important in quickly shotgunning and comparing multiple caps in a circuit prior to replacing them. In addition, when I grab a new cap, I always test it first with the ESR tester to confirm it is a good cap, I've found brand-new capacitors from stock that are bad!
54
@fins59 · 3 years ago
As a retired electronics tech I can say that this is good advice.<br>I've subscribed because your video is clear & succinct and not padded out to 30 mins like many others do.
113
@Strike_Raid · 3 years ago
If you're recaping really old stuff (20's and 30's era), capacitors had a lot of internal conductance that was accounted for in the original circuit that new capacitors don't have. You may need to add a resistor in parallel to keep the circuit 'in tune', and guessing the size of that resistor is really just a guess.
116
@anmeirdi · 5 years ago
Two important issues when recapping with a higher value; 1. never do this with starting capacitors in motors, they need the exact right value. 2. Recapping with a much larger value in a power supply can cause damage to the bridge rectifier, because the current peak when staring up, is much higher then.<br>An other important issue is the temperature which is mentioned on the capacitor. The switching power supplies before the 1990's often used capacitors, marked with 85°C. This was also one of the reasons of the caused problems. Always use 105°C capacitors for switching power supplies!
87
@leroyusa935 · 4 years ago (edited)
What's nice about troubleshooting stereo equipment is that the channel that is in good working order can be a good reference for measurement comparisons. Hard to find problematic components can be detected this way. Just make sure that your reference input signals are exactly the same for the left and right channels. An oscilloscope can also be an excellent visual aid to compare for abnormalities in the defective channel.
48
@jpreza · 3 years ago
Great advice!! I'm guilty of the shotgun approach because I wanted to listen to my vintage receiver right away. More than once, I spent more time trying to figure out where I went wrong with my DMM, hooking up my DBT, reading voltage/current values through everything and trying to read the blurry values from a scanned service manual, playing the AM/FM tuner, hooking up a turntable and using the phono/EQ board, etc. etc. You get the idea. <br><br>Take your time. Do one section at a time, and then test your receiver. Another piece of advice is pay attention to the orientation of new transistors vs. old ones. Some older transistors tend to have EBC instead of a more modern ECB.
28
@em0_tion · 5 years ago
"Smooth, rounded, flow. Smooth, rounded, flow. Smooth, flowing, stuff." I meditated and achieved internal peace there, what a voice! :D
11
@randycarter2001 · 4 years ago
That glue when it turns brown, instead of yellow, is actually CONDUCTIVE. Especially if it is near something that is starting to corrode. I've fixed many malfunctioning electronics just by chipping that glue off. When it turns brown it becomes brittle facilitating this.
65
@2BSaved · 1 year ago
Love the "Recap one section at a time" advice. As much as it sounds like a simple and easy thing to do, I was many times tempted to just keep going (for 5-6 hours ) . It is a very good advice so ty.
32
@davidlong1786 · 5 years ago
One thing I would add, having worked on computer monitors in the past ( 25 years ago) some brands had that hold down glue that would over time become unstable from heat and age and become conductive on the board. We had to scrape it all off and clean the board really well.
165
Up next

What 1000+ Repairs Taught Me About Recapping Vintage Receivers
Novalux Stereophonic · 95K views

Dealing with the DEATH CAPACITOR in Vintage Gear
Blueglow Electronics · 273K views
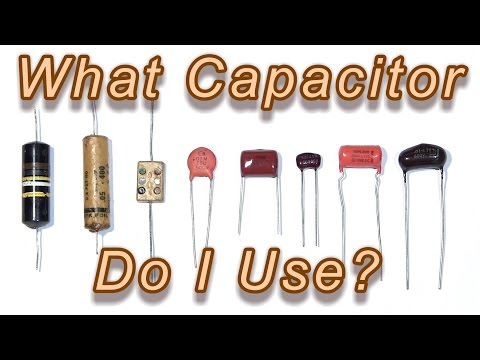
Which Capacitor Do I Use? Tech Tips Tuesday
Mr Carlson's Lab · 1M views

Ultimate Guide to ECC83/12AX7 Preamp valves
ValveTubeGuitarAmps · 44K views

The Basics of Audio Electronic Repair and Troubleshooting
Mario DiSanto · 75K views
Before You Recap Your Vintage Receiver... Watch This
Novalux Stereophonic · 181K views

Replacing Coupling Capacitors in Vintage Gear
Blueglow Electronics · 76K views

Only 1% of People Know This Before Replacing Their Broken TV 😱 The Result Will Shock You!
Inventor 247 · 113K views

What Happened to DAT Tape? Why It Vanished While the Cassette Lived On
WRITE ONCE and Ctrl+Alt+Fail · 6.4K views

3 Ways to Check Capacitors in Circuit with Meters & Testers
TampaTec · 1.9M views

Recapping: It's the New Bloodletting
Ray Gianelli · 57K views

The 3-step Process To Repair Any Vintage
Mend It Mark · 298K views

EU Tells USA To BACK OFF! Dutch BAN Microsoft, Bonds COLLAPSE, Trump PANICS
House of El · 68K views

The Tiny Chip That Made Amplifiers Just Work — The Story of the 741
Part That Changed American History · 80K views

Learn an Incredible Method to Identify the Wires of Any Transformer.
ElectroRobotics · 109K views

Choosing Capacitors to Recap Old Electronics
JDW · 125K views

The 12 Most Common Electronics Faults : How To Diagnose And Fix Them
Learn Electronics Repair · 182K views
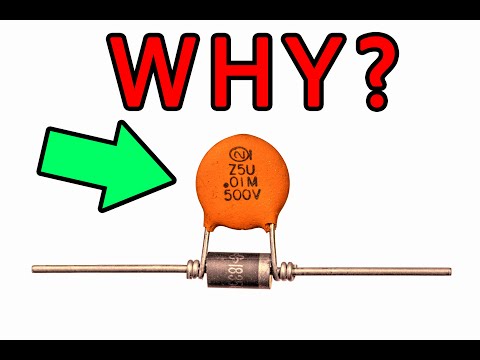
Why Put A Capacitor Across The Diode? Here's Why!
Mr Carlson's Lab · 1.2M views

Never Do THESE 5 Things With Your Hi-Fi Amplifier (#1 Can instantly IMPROVE your sound.)
Honest HiFi · 5K views

Easy Electrolytic Capacitor Replacement & Testing Methods
John Salt · 346K views